Help Using Shmoop
MoreHow do I create a classroom?
Let's start at the very beginning. (We hear it's a very good place to start.)
Step 1
Click on your username in the top right of the screen (or the top of the view on mobile).

Step 2
Choose "Create a Classroom" on your Dashboard.

Step 3
On the next screen, you'll need to do three things:
(1) Name your classroom. Make sure to give it a unique name; you can't have two classrooms with the same name. And remember, students will see this name, so keep it PG.

(2) Choose your license. If you're on a school or district license, select that. If you're an individual subscriber, choose "Individual Access."

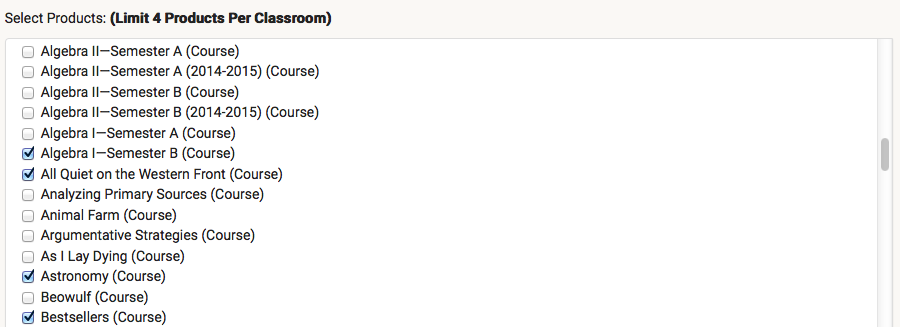
(3) Select which products to include. You can choose up to four products to include in your classroom. If you want want to customize your course content, you'll need to only choose items that say (Course) next to them. Otherwise, you can choose whatever you want.

Then click "Create Classroom."

Step 4
If you've only included Test Prep products...you're done! You can now visit any of our other Help sections if you have questions about how to use Classrooms.
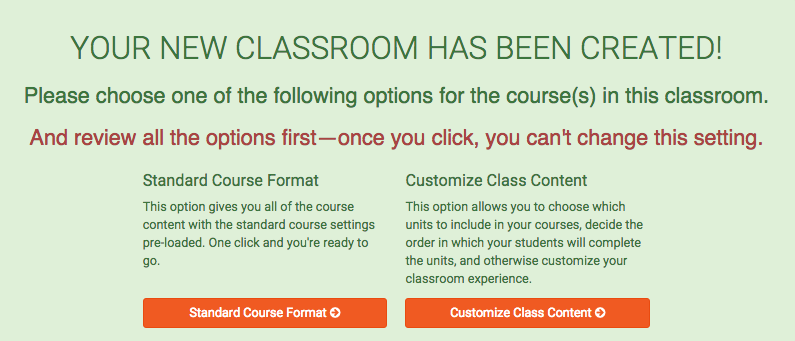
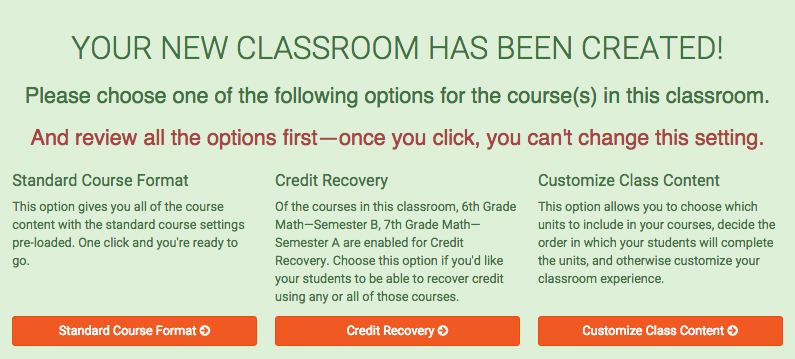
If you see one, two, or three options for how to finalize the classroom (something like this)...


...choose the one you're looking for.
(1) Standard Course Format. This is just the vanilla use-our-courses-as-they-are option.
(2) Credit Recovery. If any of your courses are credit recovery-enabled, you can click this option to set up credit recovery courses. Want more info on how credit recovery works? Click here.
(3) Customize Class Content. If you have courses in your classroom, you can use this option to customize which units to include—and in which order. For more details, click here.
Still need more help? Feel free to email support@shmoop.com, and you'll hear from a real human with 24 hours.